 " id="k8-modal-content" alt="modal">
Add Employees to customer
Goal

Customers have employees, which are important contact persons.
Create this elements:
- employee table: exemployees (change to your table name)
- employee master data form
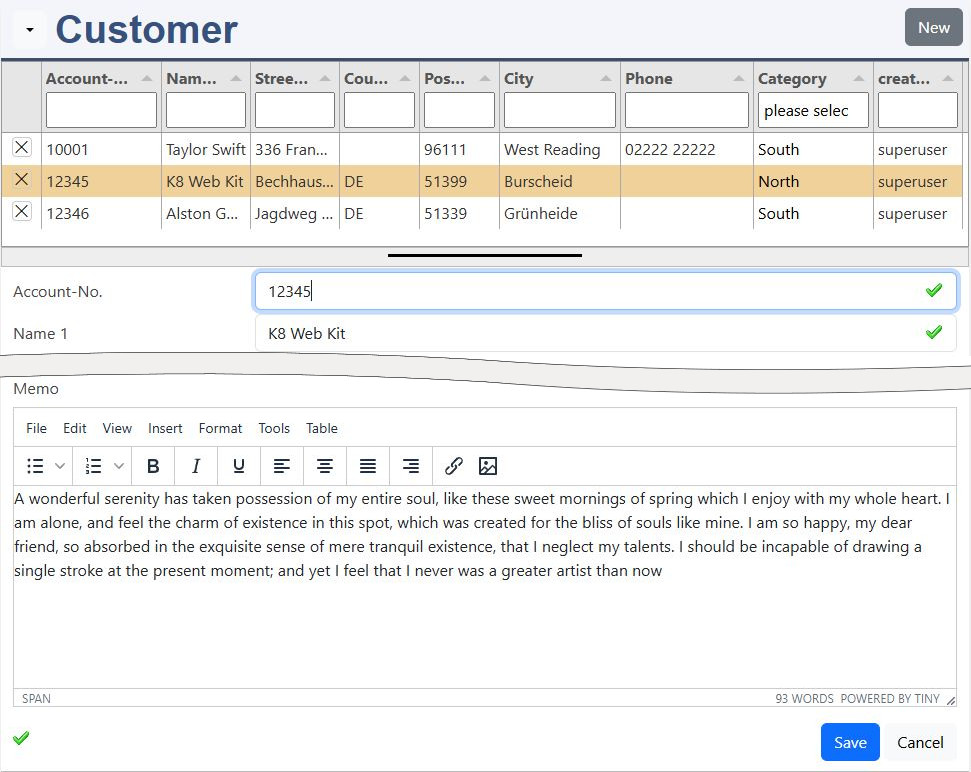
The employees are appended as a list (tabulator) to the customer master data form. The employees can be added in an overlay.
Have a look to
Support is available by discord: K8 Web Kit
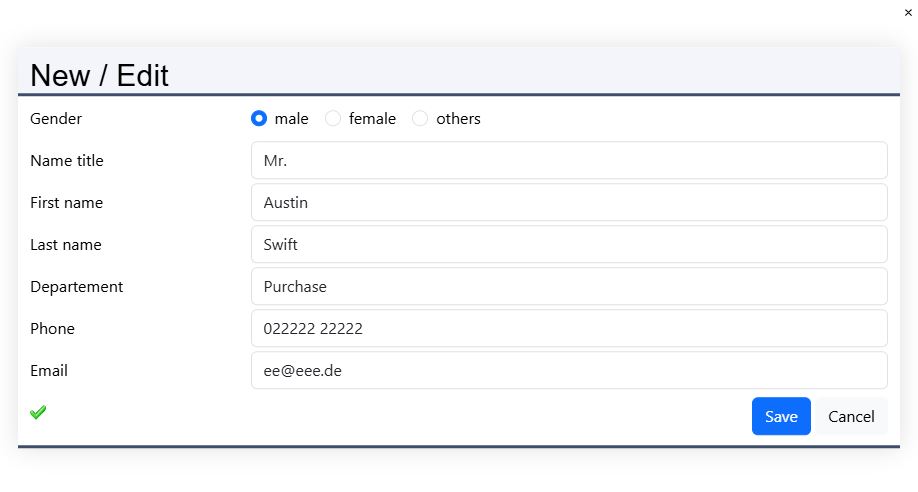
Here you see the employee form, which is opened as overlay.
Prerequisites
Your customer form from the first exercise:
Instructions for Elements online
New datadefinition: exemployee
Create a new datadefinition:
- datadefID: enter a new datadefID (exemployee)
- name: the displayed name
- table: choose a new table name (exemployee)
- head title column: lastname
Save
Attention, it's not saved by a red box at the window bottom line! Only by the green "saved" message, you can continue.
Please have a look to the documentation of elements online.
You need to be registerted and logged in. Open "elements online" in your environement "Admin / elements online".
Table structure
Copy the columns
Copy the columns here; goto elements online; delete the default columns; click in the tabulator columns; paste with ctrl-v this columns into the table.
Save table
Save your table. It will be created in your database.
Create datadefID
K8 Web Kit generates the datadefinition with the structure of the table, the tabulator list and the form elements.
Assistant
The assistant helps to adopte the corresponding form in a dialog.
Form elements with the Assistant
| Field / Column | Dialog | Property | Value |
|---|---|---|---|
| accountID | Main | type | hidden |
| Tabulator add | ,"visible":false | ||
| gender | Main | type | radio |
| Options | Value / Text | 1 / male | |
| 2 / female | |||
| 3 / others | |||
| Main | type |
The Assistant can be started in elements online, Folder menu: button: Assistant.
The definition and columns are build.
Or from the menu: Elements online Form Assistant.
If the datadefinition does not exist, enter your datadefID and Save it. Then press the button Get datadefID. Your table columns are listed in the Form elements (docu).
The categoryID is joined to foreign tables:
- the "select" gets the data from the k8groups table.
Column description:
- an editor is added, which allows to make notes and links in a well formated presentation.
Tabulator
please improve the tabulator list by changing:
- width
Change the label according to your needs.
Update + Open
The datadefinition is updated and the masterdata form is opened.
exemployee: adapt the data definition
exemployee.json:
"masterdatadefID":"excustomer"
exchange "excustomer" with your customer datadefID. Insert "masterdatadefID" and "masterkey" to the top of your employees data defintion. Insert the other properties in the "masterdata" section of the data definition.
The properties:
- masterdatadefID: the customer datadefID
- masterkey: the column of the employee table correponding to the cutstomer table
- datalistcolumn: this column is displayed, when the employees are used in a datalist field in another form
- masterdata
- edittype: 3, overlay edittypes
- upload: "enabled": false, upload of images is not intended
- bnoform: displays only list
- rights: adopt the rights from the customer master element (method: 1000)
- sql_additionals
- select: additional columns are defined
- from: reference to the excustomer table
- tabulator: "height":"200", enlarges the employee list
Save
Attention, it's not saved by a red box at the window bottom line! Only by the green "saved" message, you can continue.
excustomers: adapt the data definition
excustomers.json:
Attention: the properties already exists from the former exercises:
- settingsadditional
- backend
settingsadditional
Add datadefinition "exemployee" (if applicable replace it with your emplyoee datadefinition).
backend
Add table exemployee (if applicable replace it with your emplyoee table).
If a customer is deleted, the employees are also deleted.
Insert this lines in the right section of your excustomer data definition.
Save
Attention, it's not saved by a red box at the window bottom line! Only by the green "saved" message, you can continue.
excustomer JavaScript: add the employee to the customer form
excustomer_head_end.js:
Add this lines in the JavaScript file of your customer data definition.
pagessettings
Replace settingsexemployee with:
- settings<your emplyoee datadefID>
With pagesettings the additional elements are appended to the customer element.
Save
k8.datadefAddmasterdetail(...)
The function k8.datadefAddmasterdetail(...) appends additional elements to the main master data element. By the CRUD operation the child element is triggered.